
I've been putting off decorating the bathroom for a while now, mostly because I'm just so burned out from doing all the OTHER renovation stuff in the apartment! (though I'm quite pleased with the way it all turned out!!!)
I wanted the accent color in the bathroom to be yellow, with the rest of the decorations being white, black, and anywhere in between. I also wanted to find super fun unique art to display, and told Mr P that this could be his place to shine (with his quirky mind and quirky monster obsession).
We ended up purchasing this little guy at "Not Yo Mama's Craft Fair" at the last JC Fridays event in Jersey City from kudu-lah.
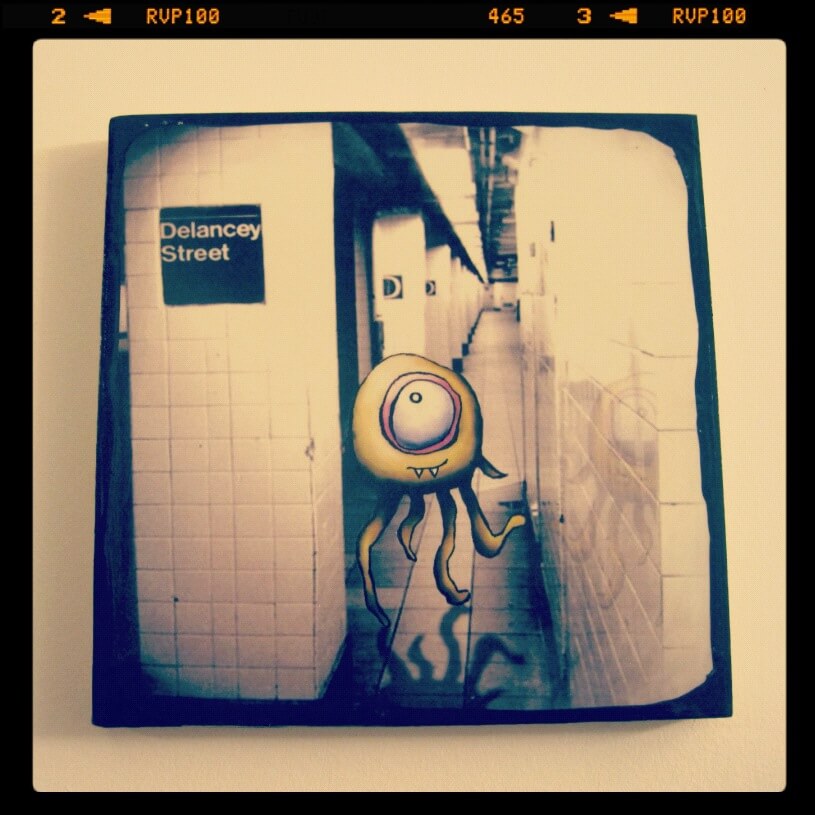
Mr P saw monsters and a ginger (i.e. redhead) and instantly veered towards the table. I immediately knew we were going to come home with SOME thing ;) We came home with "Skitch", and he's now hanging on the wall right when you enter the bathroom.
I couldn't decide on another print or piece of art without emptying our pockets along the way, so I decided to recover my old Ikea wood frames with new fabric. I found this yellow and gray chevron fabric from Bobbie Lou Fabric on Etsy.com, and I instantly fell in love!! The fabric was wide enough so I could get both frames covered with just 1 yard! yayayaya
I got the fabric in the mail just before we left for the holidays, and finished the project the day we got back (talk about excitement!!)
First, I stripped the frames of the ugly-child-like fabric I originally covered them with
(what was I thinking??)
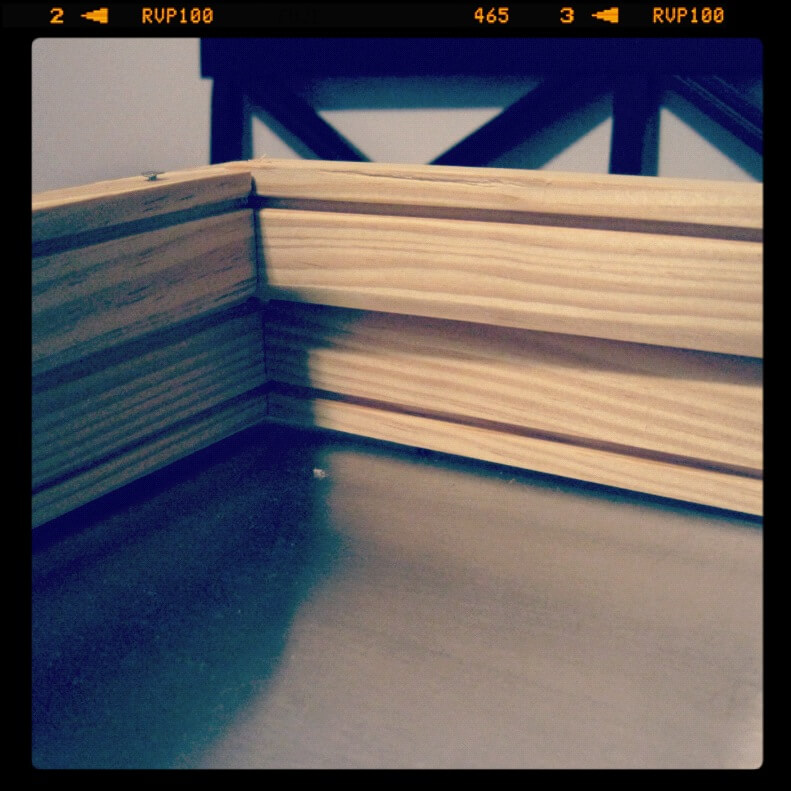
These $5 frames are the best because they already have a ledge on the inside to catch a nail head.


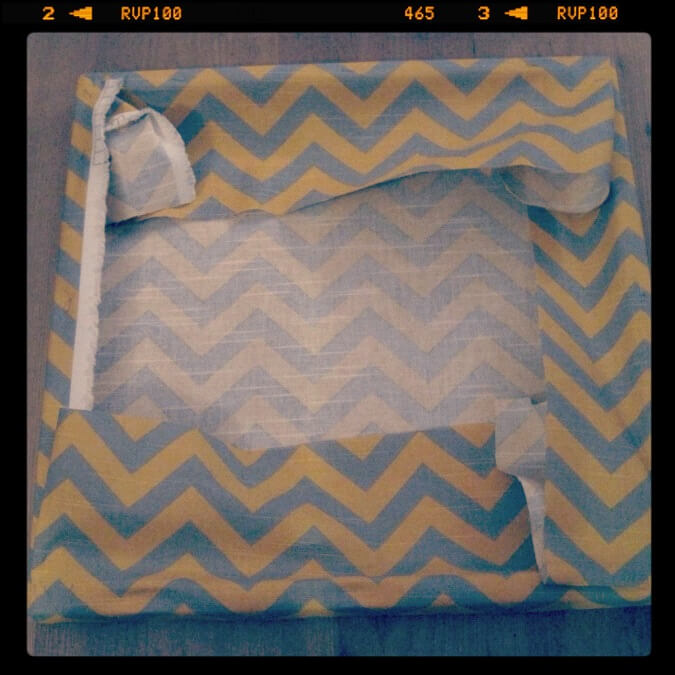
I then double-checked that the fabric would cover both frames by folding it in half and putting a frame over it.
I then cut the fabric in half and laid out 1 frame with the fabric. I measured 3" on the same side of fabric and 2 corners of the frame so I knew the fabric would be square with the frame.

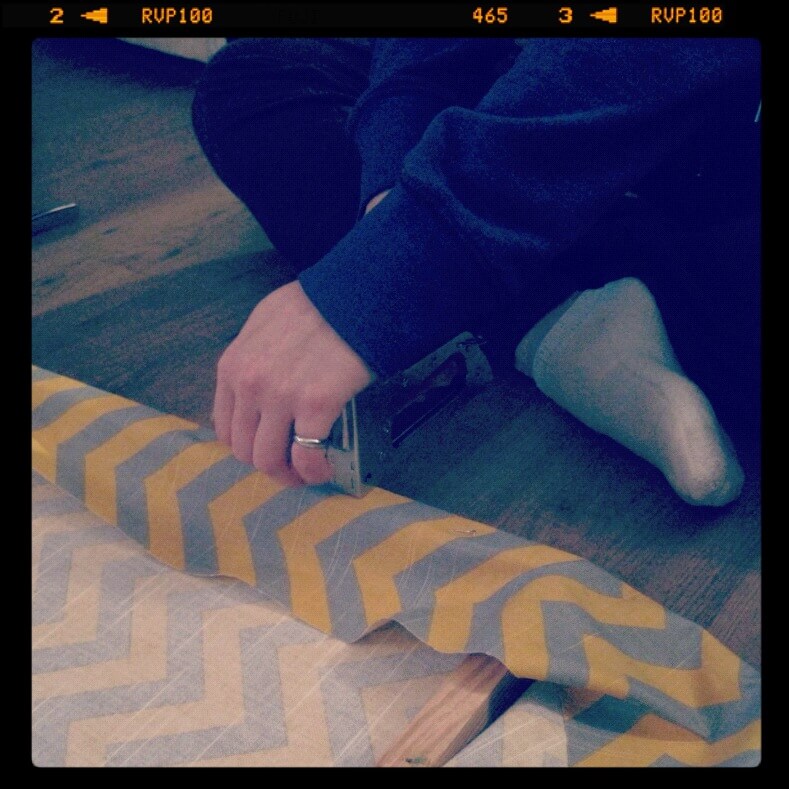
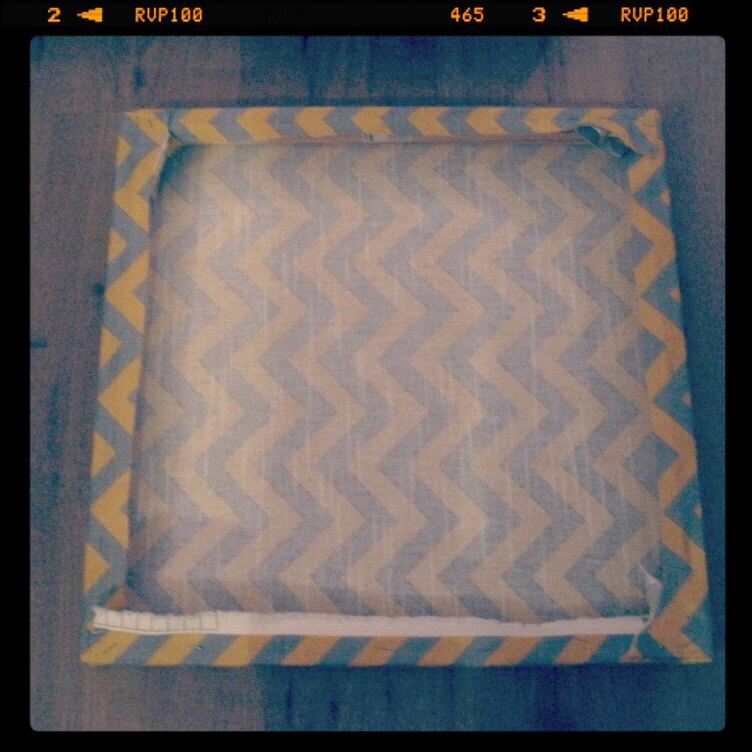
Then I stapled 1 staple at the center of each side of the frame with a staple-gun. I next stapled a few more staples on each side, pulling the fabric tight before stapling.

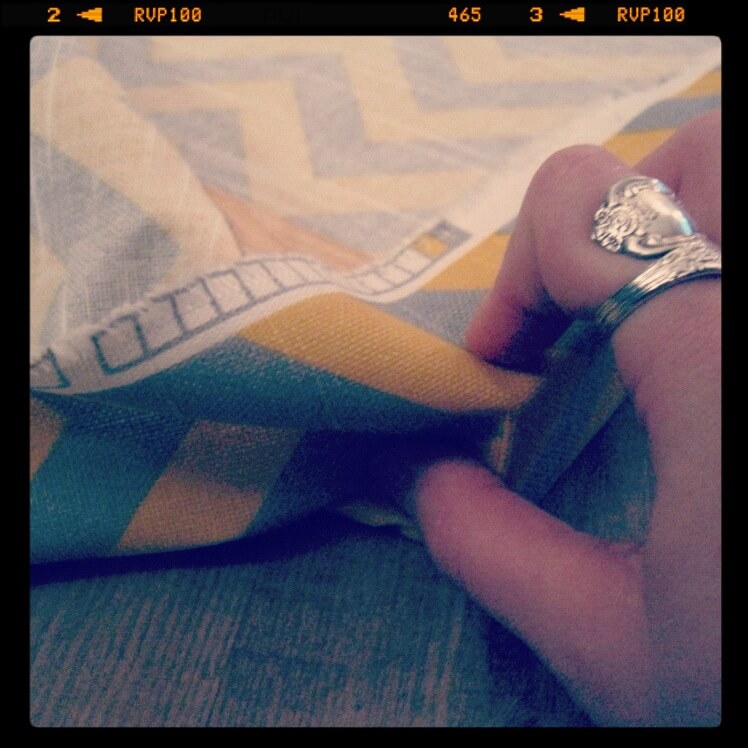
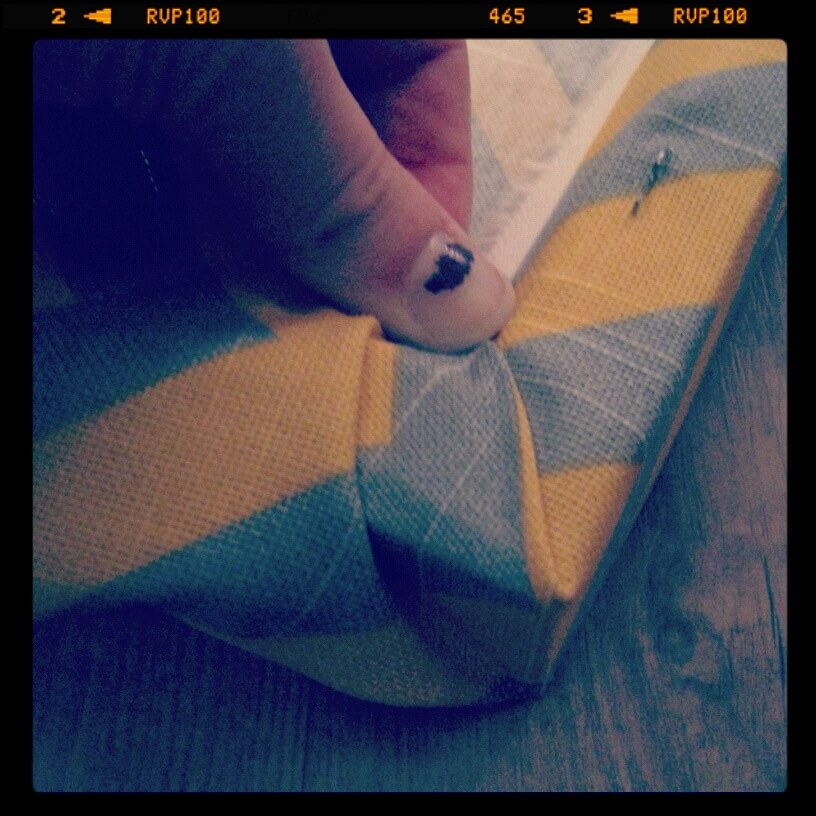
Then I folded and stapled the corners by placing 1 finger on each of 2 sides of the corner, and making 2 folds with the fabric so that the outer fold was square with the corner (ahhhh don't mind my chippy polish!! I couldn't find a way to hide it and show what I needed to show you!!)
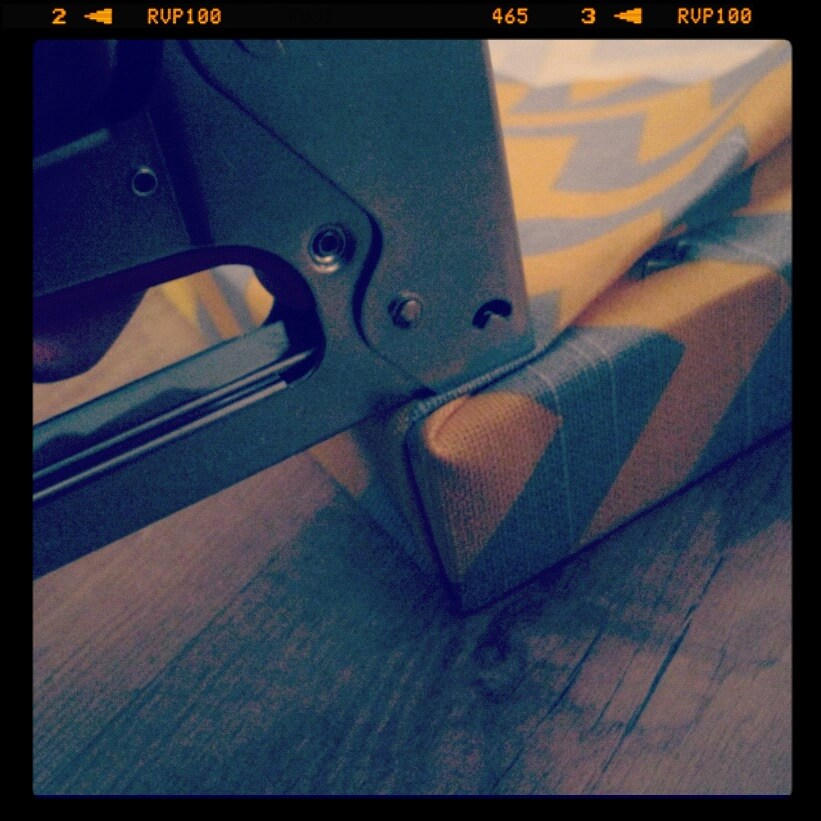
Lastly I trimmed the edges of excess fabric, and then hung the frames on the bathroom wall with just 1 nail (you can use two if you choose, but make sure they are VERY level!)

Done! This project is one of my favorites so far, because it's fast (took less than an hour to complete), it's cheap (I already had the frames, which are cheap at $5 anyways, and the fabric with shipping cost only $15), and it's easy (all you need to complete it is fabric, frames, staple gun, and scissors).
This project is perfect for someone looking to get color on white walls, cheap art for a rental where you don't know if it will match the decor at the next place you live, a baby room where you don't want to spend all your diaper money on silly art that will have to go away in a few years anyways, or many many other options.
Hope you enjoy!
Toodles.
J&H
2 comments:
such FUN fabric, jenn!!! thanks for sharing your lil crafternoon delight with the world :)
I'm glad you like it, Ella! Have a Happy New year, and hope you're doing well :D
Post a Comment