Showing posts with label Slow-Cooker. Show all posts

Monday, February 20, 2012

i survived

i survived a half marathon!

(no no no, not THAT kind of marathon... i'd totally die if i tried to run 13.1 miles in one shot)

i survived the STAR WARS half-marathon!!  as you know, mr p and i spent our entire sunday snuggled up on the couch watching episodes IV, V, and VI, all while we had a big pork butt roasting in the crock pot for pulled pork all week!  it's a feat if i stay awake through a single movie, let alone 3 in one day! 

i didn't shut my eyes once, and i actually enjoyed watching them :D

NOOOO!!! don't kiss HER !!!

stay tuned later this week for mr p's recipe for pulled pork.  it can be some of the cheapest, most delicious food you will make at home!

happy monday!

Tuesday, November 29, 2011

Overnight Oats

Wait... isn't that why they made "quick oats"?  So it doesn't take so long to make oatmeal?  Why spend the time cooking your oatmeal overnight when can be cooked in 90 seconds in the microwave? I'm talking about steel cuts oats, "same same, but DIFFerent" (like the Thai people would say when they try to sell you the same trinket you saw at the previous 10 street vendors).  Steel cut oats are simply better for you, have more fiber, and they are processed less (I think they are more delicious and appetizing, but I can leave that to you to decide.)  Read this article for a more in depth comparison.

I started with a recipe from Alton Brown (though if you google 'overnight oats' or 'crock pot oatmeal' you will get very similar recipes).  I like to make them because they take 2 minutes to prep, then in the morning I scoop it into individual containers for the week so I can just grab one from the fridge on my way out the door.  Alton's recipe calls for dried cranberries and dried figs.  The first time I made this recipe, I only had dried cranberries, so that's what I used!  I substituted extra cranberries for the figs, but you could use practically any dried fruit (prunes, raisins, dried apples, dried pineapple), whatever you feel like.  If you're like me, you will use whatever is in the cupboard!  This recipe is nice because you don't need to add extra sugar.  Most dried fruits have added sugar anyways, so the tangy sweetness comes out from the fruit.  I also split my oats into 5 servings instead of the listed 4, because the first time I made it, I got SOO full every morning, and decided I would feel better eating a bit less of it (I know, crazy right? ..but oatmeal is solid, so it fills up the tummy very quickly!)

Here is what has become my standard recipe the last three times I made this.


Overnight Oats
(modified from Alton Brown's Overnight Oatmeal)

1 cup steel cut oats
4 cups water
1/3 cup heavy cream
1 cup dried cranberries (or more if you really like them!)
1 tsp cinnamon
1 tsp ground ginger

Put all ingredients in a crock pot, stir, cover with lid, and set on low for 8 hours.

That's it!

{ready to be cooked overnight in the crock pot}


{after 8 hours of crock-pot-cooking}
...looks a bit like red beans and rice, huh?


{why hello there, delicious healthy breakfast}

PLEASE let me know if you try any of the recipes!  I encourage feedback (even if you had an awful experience, haha)

Post comments by signing into your google or AIM account, or if you don't have a google or AIM account, please leave your name :D

Toodles.
J&H

Monday, November 7, 2011

Pulled Pork... AGAIN!!

Remember the last time I posted about making pulled pork?  We made this and this and ate it for a week.  Well, surprise surprise!  We have even more from that same batch.  We froze what we knew we wouldn't eat, and we pulled it out for dinners for this week!  We had amazing tacos, with homemade bbq sauce, homemade guac, taco sauce, tomatoes, lettuce, Mr P's super hot unnaturally-green habanero sauce (soooo spicy!!  ...you know what I'm talking about), white corn tortillas, and yes... pulled pork!

We didn't even have to use the stove... we used all fresh veggies, and just heated up the pulled pork and white corn tortillas in the microwave.


Does this make you want to get that scary-huge chunk of pork on the bone at the grocery store (i.e. pork shoulder) and make pulled pork??? haha

Toodles.
J&H

Monday, October 10, 2011

Week of Pulled Pork: TACOOOOS

I got home late from work, after getting an oil change, heading to Home Depot, and Shoprite.  When I got home the homemade bbq sauce was cooking, fresh salsa was made, and cole slaw was done.  Mr P is just awesome sometimes... (though he will say he is awesome always ).  He was in the midst of making pulled pork tacos!

Yesterday I mentioned that we started cooking dry-rubbed pork in the crock pot.  We started cooking it around 6pm, and cooked it basically a full 24 hours!  That's a long time!  I wish I would have taken a picture of the bones... there was not even a trace of meat on the bones.  While Mr P and I waited for the bbq sauce to simmer down, we kept nibbling at the little brown bits from the outside of the pork shoulder (crunchy, dark, super flavorful, the best).  Remember I said we got it for $0.99/lb?  Well, this huge bowl of pulled pork only cost us $8!  Just one pound of lunchmeat is $8 sometimes!  You might get 2 pounds if you are lucky. Find the recipe for the pulled pork here.


We heated up tortillas on the grill pan, put everything on the coffee table, and started eating!  


BBQ sauce and fresh salsa was a pretty good combination that I was a bit leery of before I ate it.  I think part of it was the fact that the salsa was cold and the BBQ sauce was still hot.  Mr P and I have come to realize that having something hot and something cold in our mouths at the same time makes whatever we are eating just better!!


Fresh Salsa

2 diced tomatoes
1 medium red onion, diced
1 jalapeno, diced
handful of cilantro (or to taste), rough chopped
juice from 1/2 lime
salt pepper to taste

Chop all veggies, squeeze in lime juice, toss together, taste, then add salt and pepper to taste.


Carrot Cabbage Cole Slaw

1/2 head of cabbage
1 large carrot
2 tbsp mayo
juice and zest of 1 lemon
1 1/2 tsp sugar
salt and pepper to taste

Shred cabbage and carrot with shredder attachment to food processor.  Put in bowl and add mayo, lemon and zest, and sugar.  Toss, taste, and add salt and pepper to taste.


While I was at Shoprite today, I ended up finding chalk for our new chalkboard fridge!  This is the results of when a 24 year old and a 27 year old have a big chalkboard:


There are some days you need to be reminded that it's ok to act like a kid sometimes... tonight was one of those nights!!

Toodles.
J&H

Sunday, October 9, 2011

Sunday Funday

After staying until 3am on Saturday night (Sunday morning) with friends visiting from Ohio, I'm shocked at how much we got done today!  After a trip to Game Stop, Home Depot, and the grocery, we still managed to start food for the week (in the crock pot of course) and finish some projects for the renovations.

Shoprite sent us coupons for limes (8 for $0.99!!) and pork shoulder (our favorite, $0.99/lb, crazy!), so our meals this week will include pulled pork and lots of limes (unless we end up making limeade).


Mr P spent most of the day finishing unfinished projects and decluttering.  Decluttering seems to be the word of the day, everyday, lately... but our place is starting to feel more and more like home just by giving things a home (or throwing them out!)

My big project of the day was painting the fridge!  It's a crazy idea, but I've seen a few articles on apartmenttherapy.com on painting the fridge with chalkboard paint.  I never thought I would have the opportunity to do it, because most rental landlords would shutter at the idea of it.  We are lucky to be able to do what we want with this place, and trust me, it looks soooo much better!  And it will be fun to write little notes to each other in chalk, or write down grocery lists, whatever, it will just be fun.

All I did was lightly sand all of the paintable surfaces with 100 grit sandpaper, then paint 3 coats of chalkboard paint, allowing it to completely dry between coats.  I used Rustoleum Chalkboard Paint, and it was no more than $16 (don't remember for sure).  


Lastly, I did a project with herbs that I have been dying to do for a long time.  I hung 3 herbs on the wall planted in mason jars!  I saw the idea on this article on notjustahousewife.net, and fell in love.  I used leftover butcher block countertop for the wood, 4" hose clamps, and wide-mouthed quart-sized mason jars.  I used river rocks at the bottom (to hopefully prevent molding since there's no drain on the jars) and planted the herbs with potting soil.  I screwed the clamps to the board, screwed the board to the wall with drywall screws, then  slid the jars in the clamps and tightened the clamps.  Simple as that!  Now lets just hope they last and we have fresh basil, sage, and mint all winter :D


I'm looking forward to having pulled pork all week!  Pulled pork tacos here we come!

Have a good week!

Toodles.
J&H


Thursday, September 22, 2011

Days 15, 16, & 17: Moving Moving Moving

Wait, it's already Thursday??  Where did the week go??

At least we are still moving forward with the renovations, even though it feels like we haven't done much this week.  Most of our time this week has been spent moving the rest of our things from Hoboken to Jersey City.  Though we only take 1 carload per day, it takes a good hour and a half at least just to pack up a carload, take it to Jersey City, unload the car, and put it in a place in the apartment where it won't be in the way (the "won't be in the way" part is getting tough the more things we bring!!)  Last night we brought all of the hanging clothes.  I've gotten pretty good at this part considering how many times I've moved.  I brought my rubberband ball home from work (that I worked so hard to get that big!!) and unraveled it to rubberband bunches of hangers together.  This is my easy way of moving hanging clothes.  The first time I moved I took them all off the hanger, folded them, put them in a box, then put all the hangers in a messy awkward mess in a trash bag, only to hang up wrinkly clothes again once I got to the new place.  Bundling the hanging clothes together by rubberbanding the hanger tops saves sooo much time!  It's a little riskier though, as some clothes may fall off the hanger.  Last night we only had one casualty, a cotton shirt of mine... Luckily it wasn't one of Mr P's expensive suits!!

As with all of the plumbing we had to do with this renovation, we ran into a few bumps while trying to connect the plumbing for the kitchen sink.  After making a few trips to our friend Danny at Home Depot, we finally have a working sink! 

Mr P has been taking good care of his butcher block countertops, oiling them multiple times a day like Ikea said.  I always had this notion that butcher block countertops were expensive, and maybe really good ones are, but at Ikea, it's the cheapest kind of countertop!!  Mr P loooooves this kind too, so it was win-win.  He says he will take care of it, oiling it when he's supposed to, sanding out any scratches, etc.  It's the prefect compliment to our otherwise drab cabinets.  Most Ikea cabinets are the same, just with different finishes on them.  Just changing the color or type of facing on the cabients can double, triple, or quadruple the price!  ....even though they are all the same particle board cabinets!!  Insane, right??  THAT'S why we stuck to white.  $46 for each of the smaller 12" cabinets, and $56 for the sink cabinet.  Not bad!

We have been trying to give things a "place" in the new apartment, but it's hard putting things away when we don't have much space to put it all.  We have a billion kitchen gadgets and tools, but we're not even going to start unpacking that stuff until we get shelving installed, the new stove delivered, and the new stainless steel island comes in the mail!  This coming weekend, our friend Zack is coming to build a bed "loft" for us.  Yes, just like college.  Though our ceilings aren't super high, we can still raise our bed high enough to put a dresser underneath it and have hanging storage underneath too.  This will free up a lot of space.  I know it's not ideal to have the top of the bed ~4' from the ceiling, but we're gonna have to deal! 

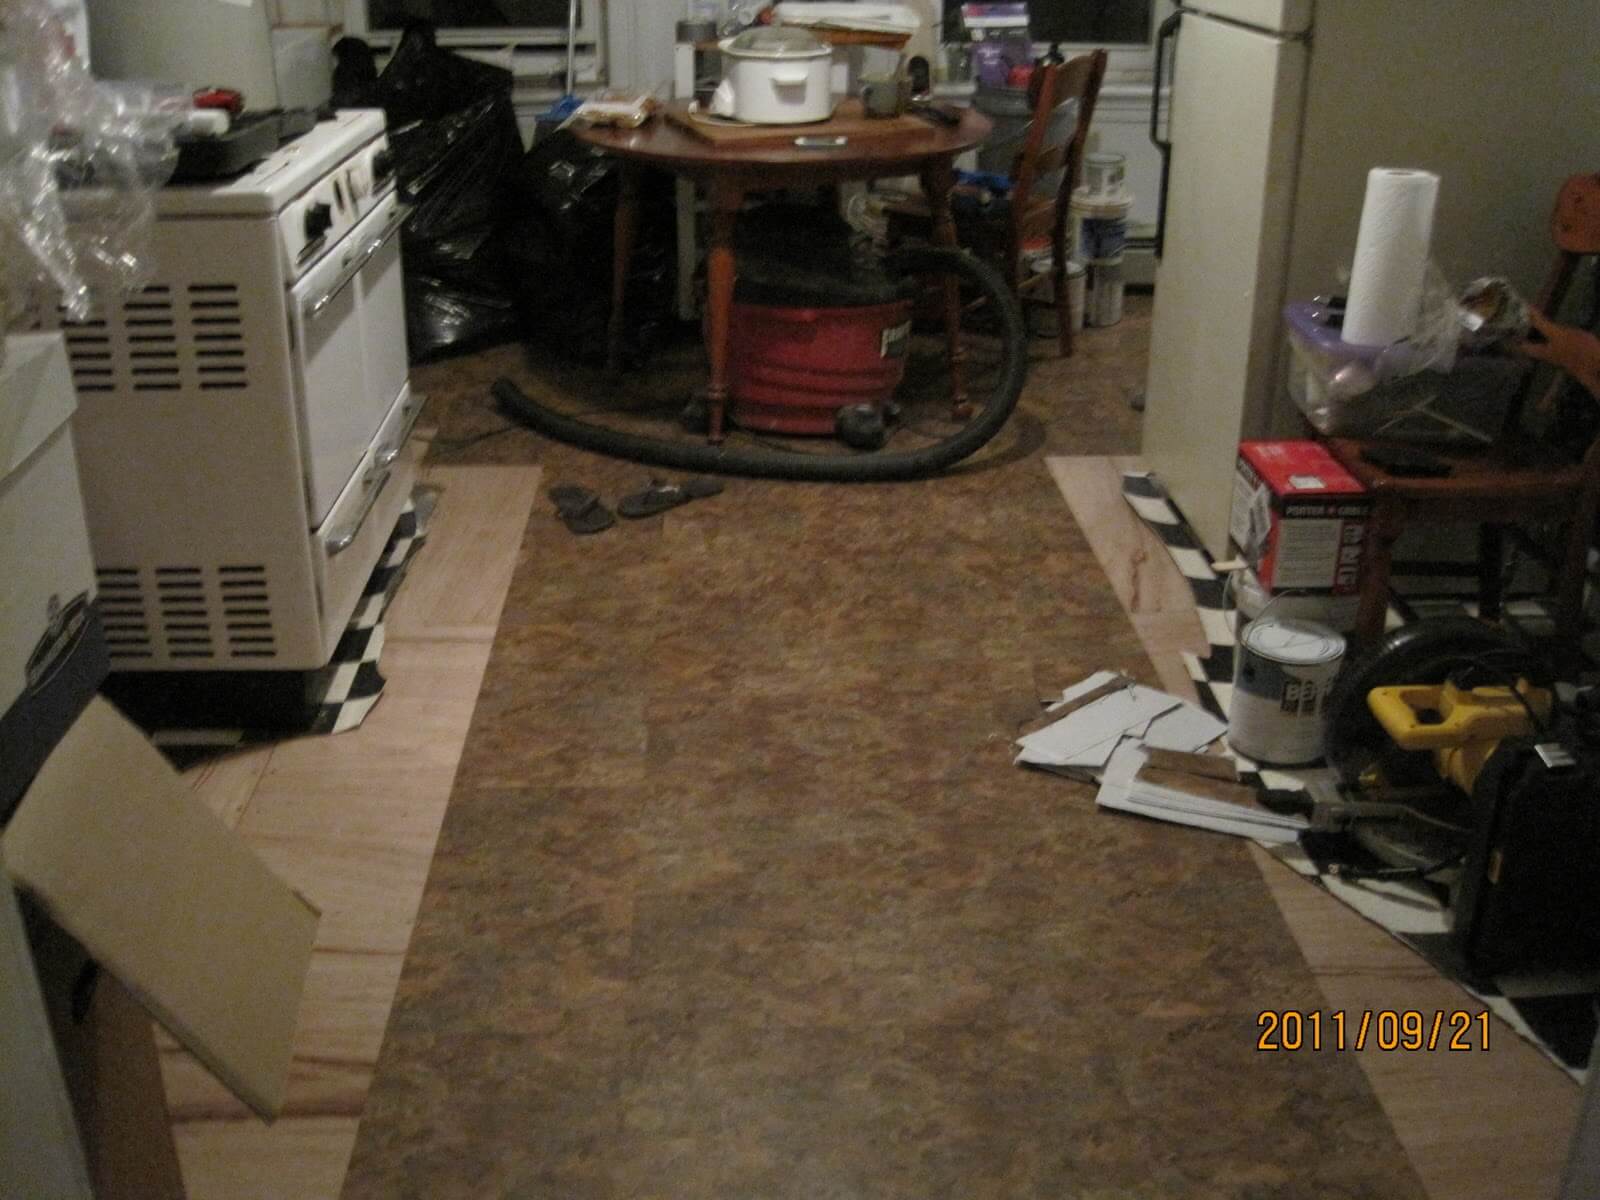
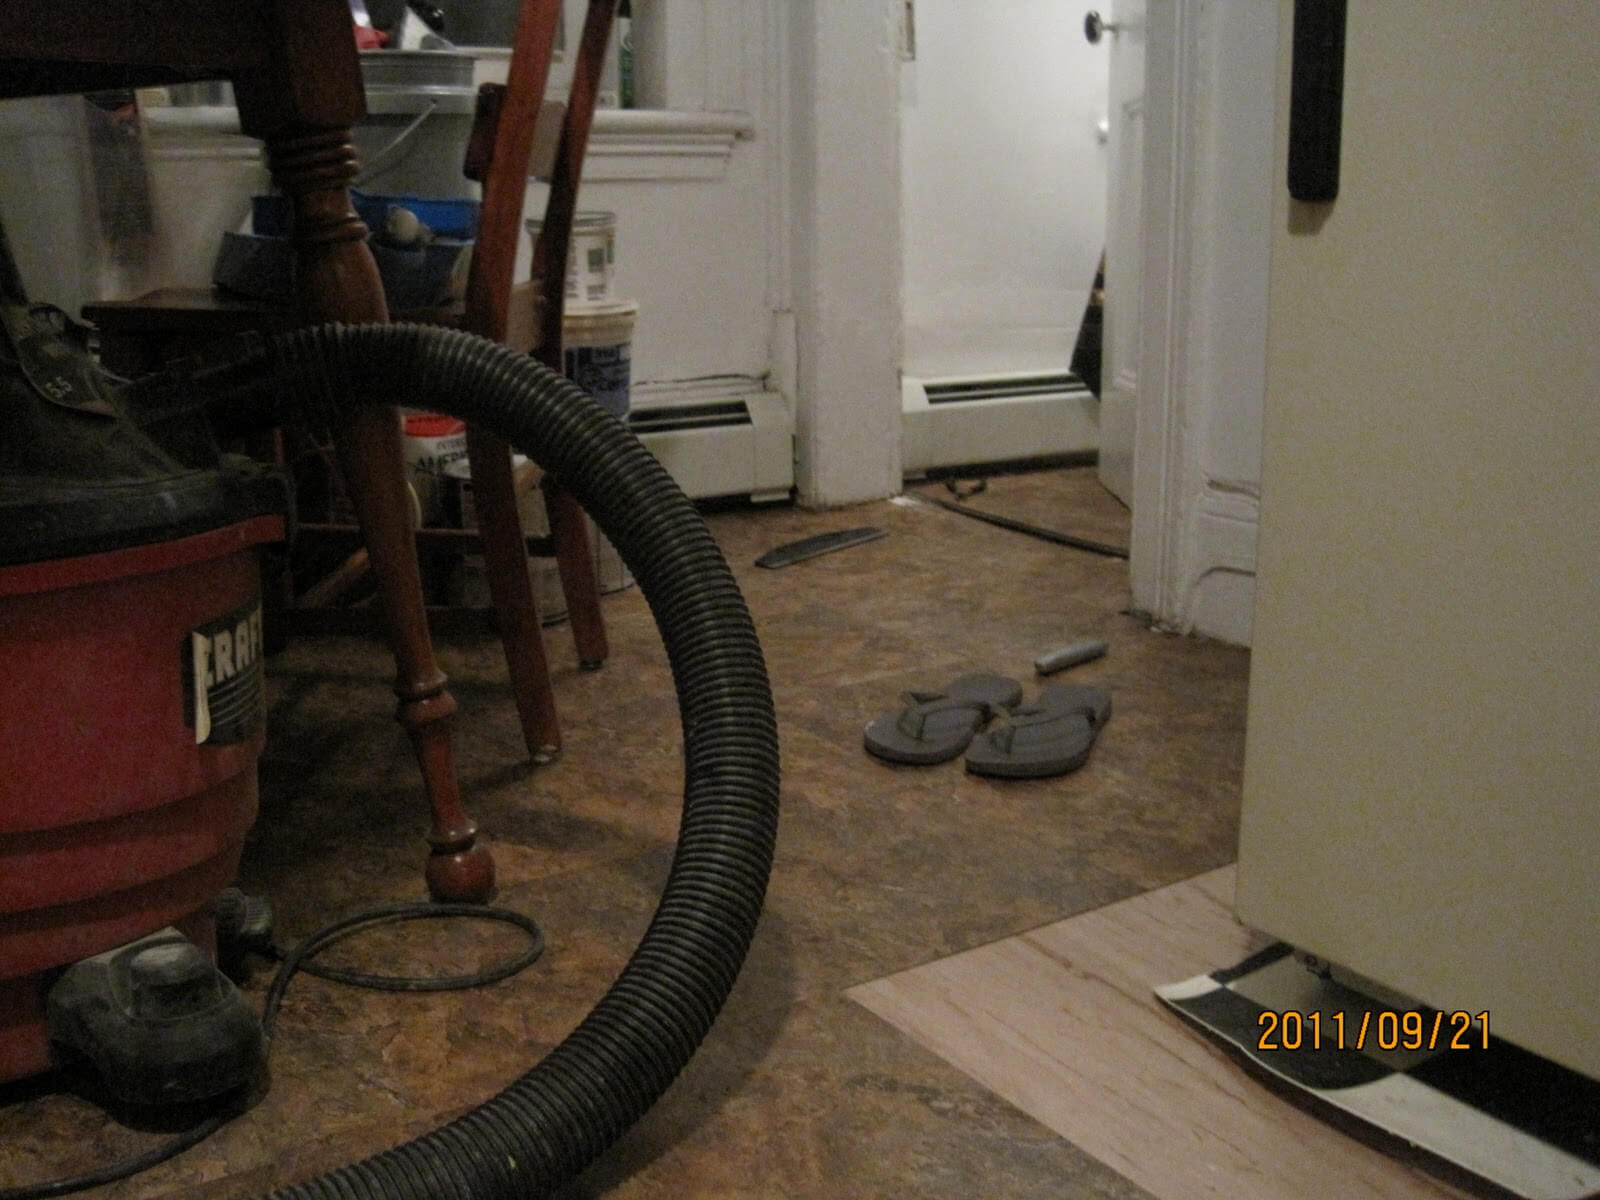
Last night we began ripping up the kitchen floors and installing the new floors.  We got really lucky having nice plywood underneath the ugly black and white diner vinyl (seems like a cool idea, but really feels like you are walking into a funhouse when you see it day after day), so we only had to rip up the vinyl sheeting, clean up the dirt and dust, and install the new peel-and-stick tiles.  Simple as that!  I told Mr P that laying these tiles are my favorite part of the renovation, because you can SEE such a big difference with not a lot of work.  That's why I don't really like doing the plumbing, or other hidden stuff, because it takes so much effort, and even though it's absolutely necessary, there's not much for the eye to see.


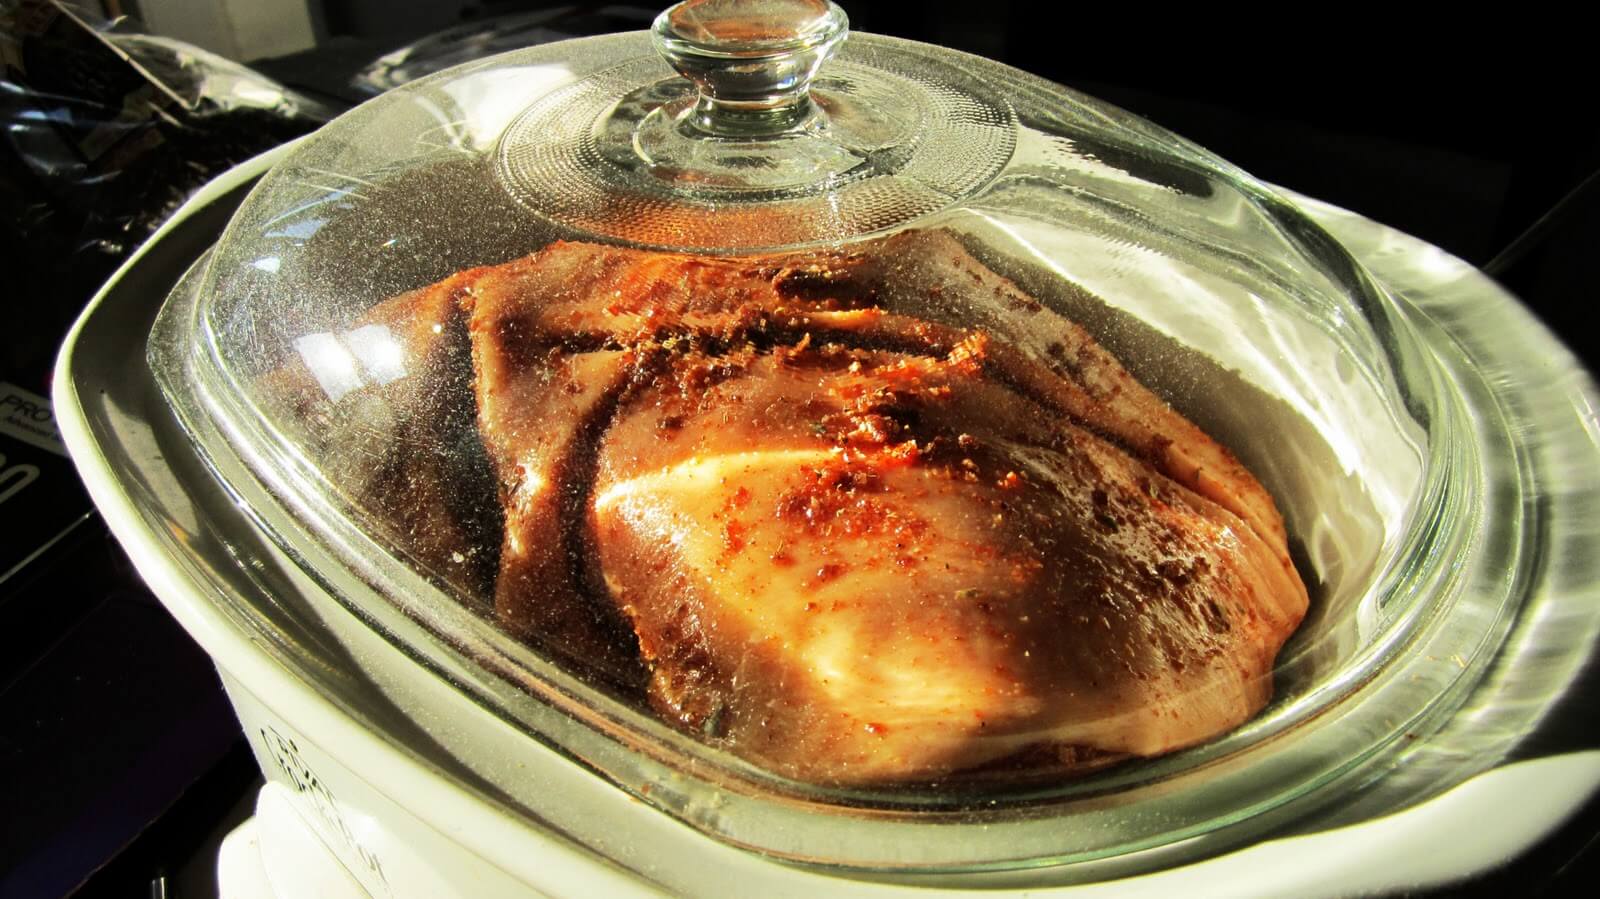
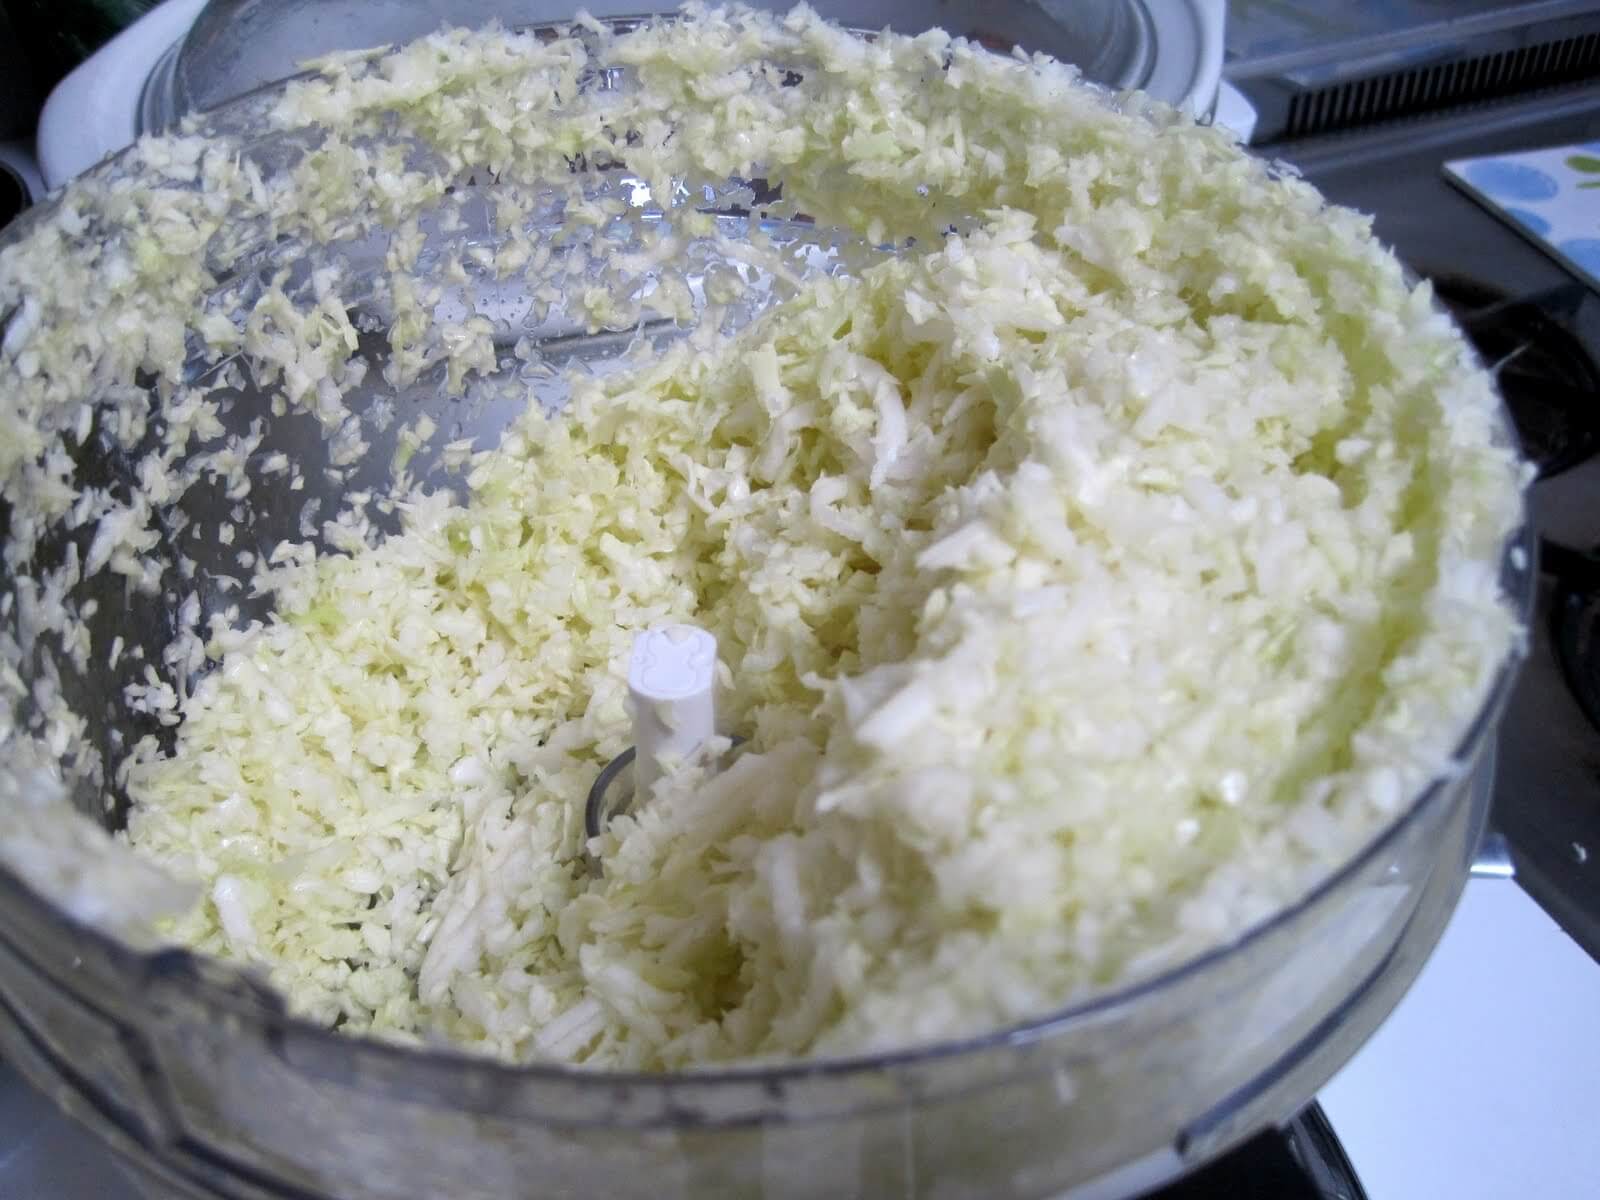
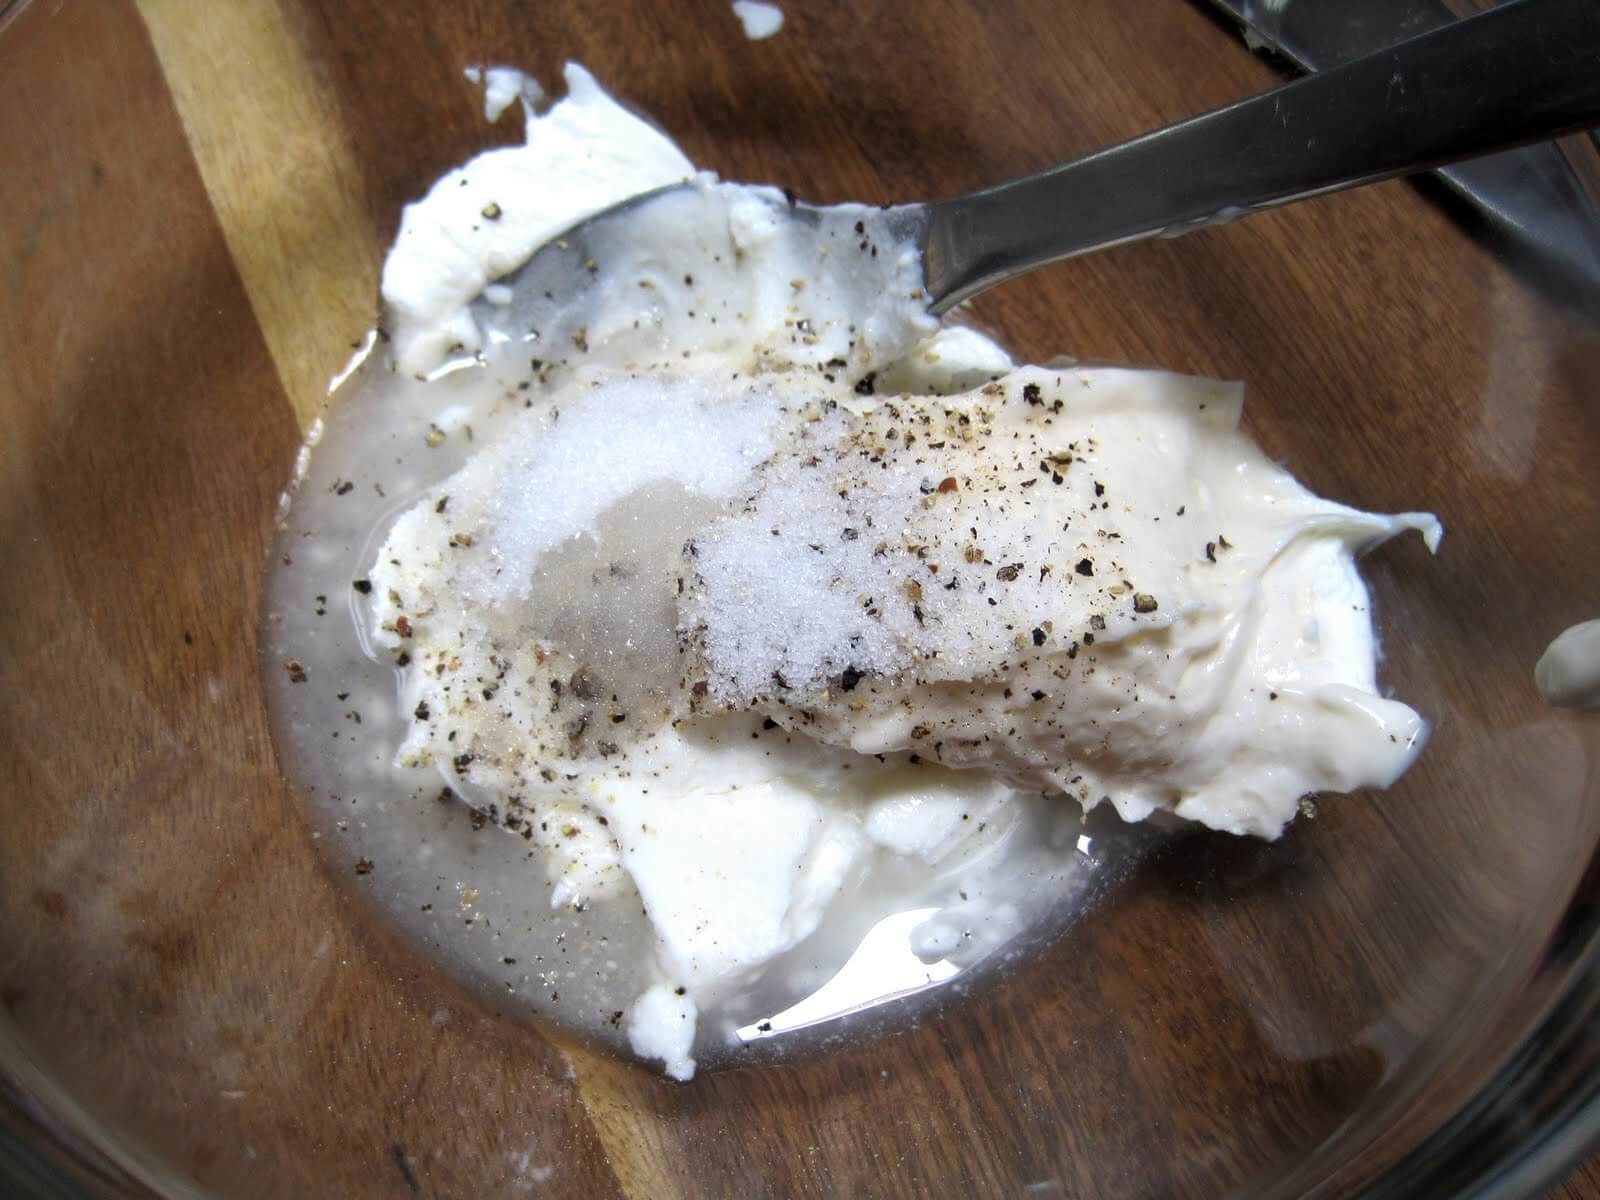
Though we can't use the stove, and we don't have many kitchen utensils at hand, we still were able to make our first real meal at the new place!  Perfect timing for a good, hearty, veggie and chicken soup.  So simple to make, nothing to cook, just throw it all in the crock pot!  I cut up chicken breasts, carrots, turnips, potatoes, onions, celery, and cabbage and put it in the pot.  I put in 1 quart of chicken broth, then added enough water to almost cover everything in the pot.  Mr P added spices (oregano, bay leaves, etc.), we set it to cook for 10 hours, and went to bed!  Yum!  Delicious soup ready in the morning!  Though, the potatoes and carrots were stilla bit hard, so I took some for lunch and set it for another 10 hours!  That was a little over the top, but it was sooo good last night for dinner!


Hopefully we can lay the rest of the tile tonight to have the kitchen all ready for the stove to be delivered this Saturday and the ugly old stove to get outta here!!

Toodles.
J&H

Monday, August 1, 2011

Deli Meat Dilemma

Saturday afternoon I decided to do an impromptu trip to the grocery, called Mr P to see what we wanted to make for lunches and dinners this week.  His go-to solution was to get lunchmeat.  We could have made sandwiches, I could put it on salads, and the best part, no cooking and turning our little apartment into a sauna.  I took my number at the deli counter, and stood in front of the big processed chunks of plastic-wrapped deli meats trying to decide which to buy.  I thought to myself, "if we are going to get deli meat, we better get something that we will actually want to eat."  With that in mind, I picked out 2 kinds, pastrami and peppered turkey... which happened to be the most expensive meats in the entire counter at $10/lb!  For lunch and dinner, we would be lucky to get a full week of meals for $20 in just MEAT!!  Ridiculous, right??


So, I handed my number to someone else, and decided that I was gonna get chicken breast from the meat section, which would at most be $2.99/lb, but Shoprite usually has it for cheaper, sometimes $1.99/lb.  Before reaching the chicken, though, I walked past the beef and thought "hmm...bbq beef?"  But the big chunk of chuck roast was $20 too!  Then, the pork section.  Pulled pork?  I looked at the big chunks of shoulder cuts, and they were only $1.49/lb!!!  Score!  Into the basket it went.  8 pounds of pork for $8 cheaper than the 2 pounds of deli meat I was about to get.  Sure there would be some fat and liquid that would drain off, but still, way cheaper (and healthier without all the additives they put in processed deli meat).


Remember when I said getting a slow-cooker was a good idea?  Here we are using it again!  When we make pulled pork, we never cook it in bbq sauce.  We use a dry rub, then if we want to do other things with the pulled pork (besides slathering it in bbq sauce and putting it on a hamburger bun) we can.


Here is the recipe as per an email from Mr P, my friend wanted the recipe a few weeks back. We also had leftover dry rub, so when we made the pulled pork this time we didn't have to make it again! (followed by the recipes for healthy(er) cole slaw and bbq sauce,  the best way to eat pulled pork!)


Pulled Pork


Pork Cut:
Pork butt with bone in (pork butt is actually the shoulder, I know, weird)


Dry-Rub:


Equal Parts:
Salt
Pepper
Cumin
Paprika
Garlic Powder
Onion Powder


Half Parts:
Cayenne Pepper
Chili Powder
Red Chili Flakes (More if you would like more heat)


5 times as much:
Brown Sugar


Other ingredients:
1/2 cup apple cider vinegar per 1 tbsp of ketchup


Procedure:
Mix dry ingredients thoroughly, then rub half the mixture on the pork.  Marinate, overnight if you have the time, in a covered bowl or container.  Place in crockpot on low for 20 hours if possible or until the pork starts to flake apart or the bone looks like it is able to fall off.  If you have a small steam rack that fits in the crock pot that would be good to lay the pork on so then the pork doesn’t sit in the fat (I don’t mind fat).  Pull pork apart with forks and then sprinkle more of the seasoning onto the pork a teaspoon at a time.  Don’t add anymore salt, the pork is supposed to taste like pork and not sausages.  Drizzle apple cider vinegar mixture to the pork then taste to see if the pork has enough bite.  Cover with your favorite BBQ sauce then serve with bread, over rice, in burritos or however you would like.


How it looks after the dry rub, before cooking in the crock pot


Healthy(er) Cole Slaw


Ingredients:


1 smaller sized head of green cabbage
3/4 cup plain Greek yogurt (fat free if you want)
1/4 cup light mayo
2 tbsp white vinegar
1 tbsp sugar
salt and pepper to taste


Procedure:
Clean cabbage, discard outer leaves, and chop into pieces as small or as large as you like, place in bowl.  We used the attachment to the food processor that shreds it into itty bitty pieces like diner slaw. Mix the yogurt, mayo, vinegar, and sugar in separate bowl.  Add salt and pepper to taste. Add to cabbage and serve!  If your cabbage is chopped in bigger pieces, let sit in fridge for 1 hour or so.


This week we are eating pulled pork sammiches with this cole slaw and Mr P's Very Vinegary BBQ sauce... yum!  This cole slaw is the best, because you get the creaminess like it has a lot of mayo, but the yogurt makes it much healthier.  Since yogurt doesn't have a strong flavor when it's used in cooking, the mayo takes over, even though there's much less mayo then yogurt (did you even ever think about substituting plain yogurt for some of the mayo?  neither did I!  We do the same with tuna salad and chicken salad).  


Stay tuned for when it's 0 degrees outside and we will make homemade hamburger buns and make pulled pork again!  For now we will have to settle for store-bought....  I suppose I can deal with only homemade bbq sauce :P

Toodles.
J&H


p.s. Mucho thanks to Mr P for taking lots of how-to photos!  I'm slacking in that part so far....

Saturday, July 30, 2011

As Seen On Tv: Bolognese

I think everyone has watched The Food Network at some point (some watch more than others, some watch everyday, not naming names).  Mr P and I were deciding what to make as our major weeknight dinner for the week, and one of our faves, Ina Garten (i.e. Barefoot Contessa) was making 'Weeknight Bolognese,' one of our favorite pasta sauces.  Though we didn't end up using her recipe, it did inspire us to make some the long way by just 'throwing it in the pot,' meaning the crockpot, or slow-cooker!  

I always thought that a crockpot was one of those things you register for when you get married and become more 'domestic,' however I've had one since college, because it's the easiest way to make something that usually requires long baking or long simmering on the stove, but you don't have to keep such a close eye on it!  If you set it on a low temperature, you can start cooking your meal in the morning, and have it ready by the time you get home from work or from school.  You can make soups, casseroles, pot roast, stews, curries, lots of simple but delicious dishes.

The bolognese we made was simple, quick to throw together, we started cooking it before we went to bed on Sunday, and it was ready for lunches in the morning!  If you are not familiar with it, it's basically a red pasta sauce with base ingredients of ground beef and tomato paste, instead of crushed tomatoes like marinara sauce.  I didn't follow all what it took to make it, I just know it was really good, but Mr P sent me the recipe in his own words in an email during the week:


Bolognese

2-1/2lbs ground beef
16oz of red wine
6oz tomato paste
2 tsp. salt
1 tbls black pepper
2 bay leaves
3 tomatoes chopped large
3 garlic cloves sliced in half
Water

Noodles
Salt
Pasta water

Sear ground beef.  Drain fat.  Place in crockpot with other ingredients and stir.  Add water to just fill over the beef.  Low for 6-8 hours, (top of beef might looked burnt) see if more water needs to be added (most likely will) to almost cover beef.  Taste to see if more salt will be needed (should taste a little on the salty side) Stir and wait for another 6-8 hours.  Add a little more water to help the Bolognese become saucy, not too much water though. 

Boil then salt the water and cook noodles to al dente reserving some of the pasta liquid (follow directions on box for dry pasta but reduce cooking time by 1-2 minutes).  Combine a few tbls of sauce with al dente noodles of your choice and mix with a spoonful of pasta liquid.  Place in bowl, add another ladle of Bolognese over the noodles and finish with grated Parmesan or Pecorino Romano.  

Boom!


....no, it doesn't go 'boom' when you're done... YOU say 'Boom!' (hands go up air like making an explosion) when you serve this delicacy to your guests as if it's magic.... or at least that's what I get sometimes when Mr P knows he just nailed a difficult dish, and that's what I imagine he was trying to portray when "Boom!" is part of his recipe :P


A few side notes from me:


- Buy your hard cheeses (parmesan, pecorino romano, etc) in block (not grated or shredded), keep them in the freezer, and don't be scared of the sticker price, it will last... for ever ...  Then just grate it as you need it, it's easy to grate when it's frozen, so you can just take it out, grate some, put it back.  Our pecorino romano has lasted for many many months because we keep it in the freezer.


- If you think you added too much water, don't sweat it, just let it cook a little longer and it will get thicker again.


- If you don't have a crockpot and you are thinking about getting one, get the BIG size... it will come in handy because you can always cook smaller portions the big pot, but you can't cook big portions in the small pot.  You should make big portions anyways, because you can probably freeze whatever you're making if you don't think you can eat it all.


Enjoy!  We certainly did :D


Toodles,
J&H